I'm still fairly new to magnetizing my stuff, but I'm really liking it on my battlewagons so far. I can change up loadouts, easily show destroyed weapons and most importantly store my stuff easier.
Let me show how I built this iteration of mag-gunz.
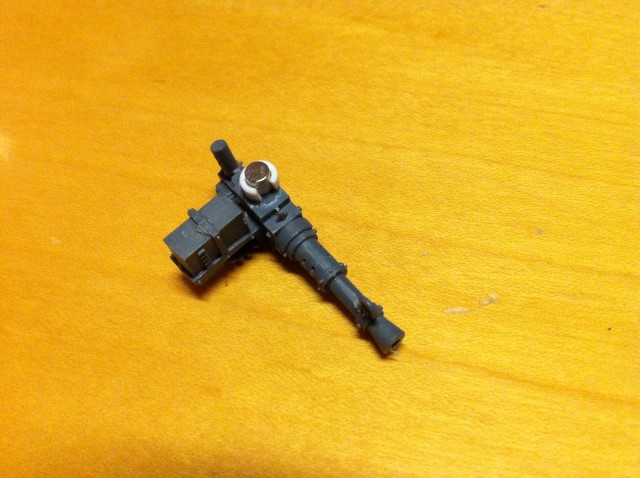
My goal is to get a post like this:
and a mount like this:
I used 1/8"x1/16" disk magnets for this:
Oooo, exciting!
I used some 1/8" plastic tube for the post and mount:
I sliced off about 1/16" off tube for the weapon magnet collar:
The tube has a smaller inner diameter the 1/8", so I carefully reamed out the inner surface. make the wall thin enough to stretch a little, but not split when I forced the magnet in. It would be a lot smarter to use the correct sized magnet, but I was working with what I had:
I glued the magnet in the tube. I cut a slit in one side of the collar and slipped it around the other magnet and glued that to the weapon itself. The collar gives a bit more surface area for the glue to adhere to:
I then cut the port to length and glued it to the wagon. The weapon makes a nice handle:
All 4 Big Shootas done! Huzzah!
As a bonus I glued some nuts to the undercarrage to give me storage:
Next up, a rivet nightmare and a hopefully completed wagon!


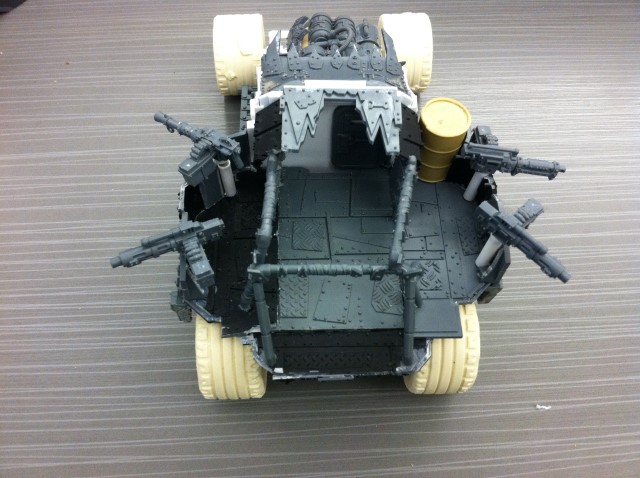


The storage compartment is brilliant!!
ReplyDelete+1 Storage compartment...oh man that is just ace! You could also use that to hold the BW onto a metal plate for transport!
ReplyDelete