Thursday, October 25, 2012

Warbiker Boss part 3

Quick update.  Progress so far:


Closeup of forks:


A tube inside a tube, reenforced with paperclip wire:


To make the rear transaxle and the front engine I used Killa Kan leg joints:

Rear Axle closeups:


A comparison with a regular bike:


Thursday, October 18, 2012

Trukk 1 quickie!

Based on some suggestions the front end looked a bit weedy I added a gob:


Warbiker Boss continued...

A little more progress:
Adding the new front fork mounts, and I added some rivets and gubbinz to the engine.
Close up of the cross mounts for the rear clip:


Overall.

More to come...


Tuesday, October 16, 2012

Warbiker Boss

This will actually be my second Bikerboss.  I went back and forth with the look and decided to go over the top with the build.  What that means in the end I'm not sure, but whatever it is it has to be orky as hell.

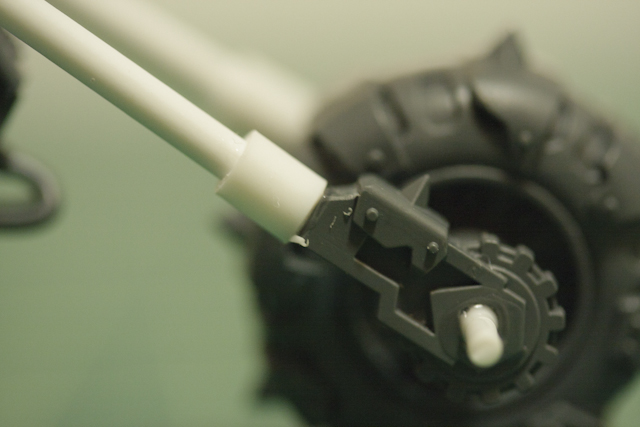
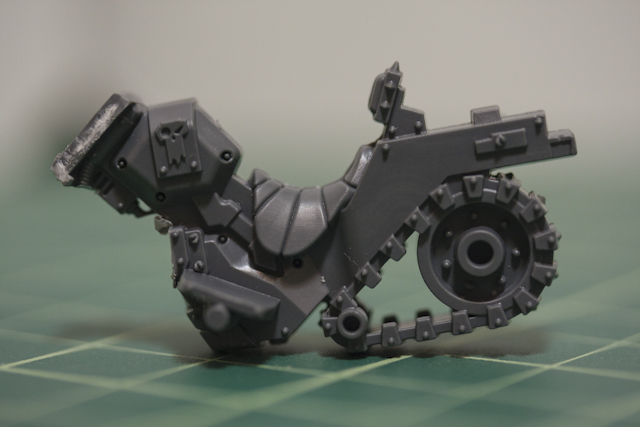
I started with a standard bike (actually I started with a deffkopta, but we'll go into that later).  Specifically the body with the track drive.  I think it lends itself to bigger conversions as it looks to me more like a drive chain and sprocket than anything.

I cut off the forks, only because they need to be bigger on the finished model.  Into the bitzbox they go!

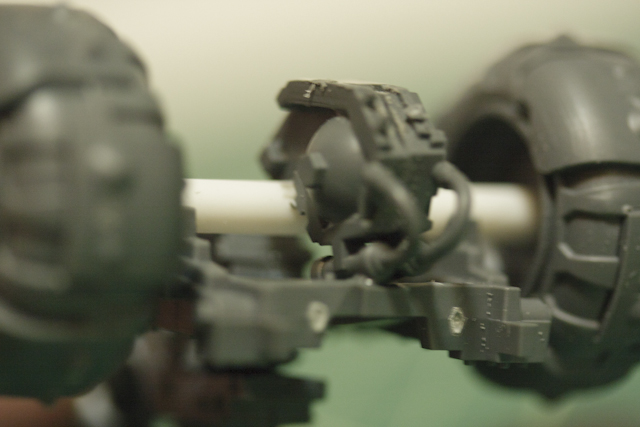
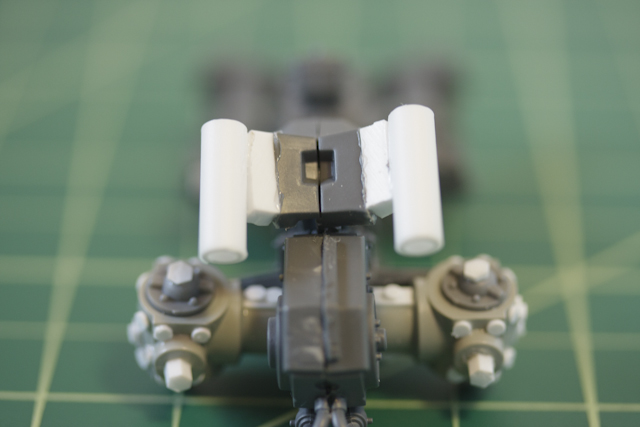
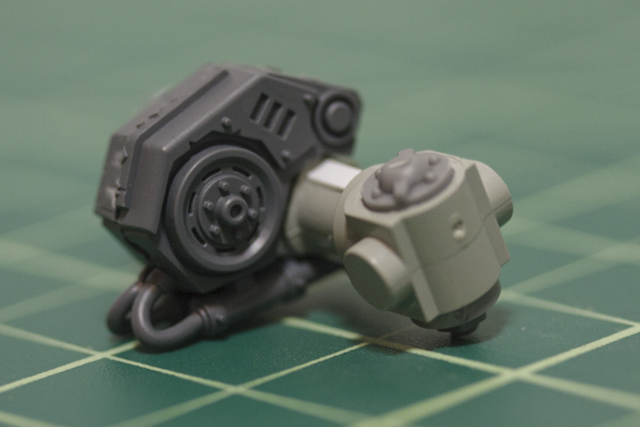
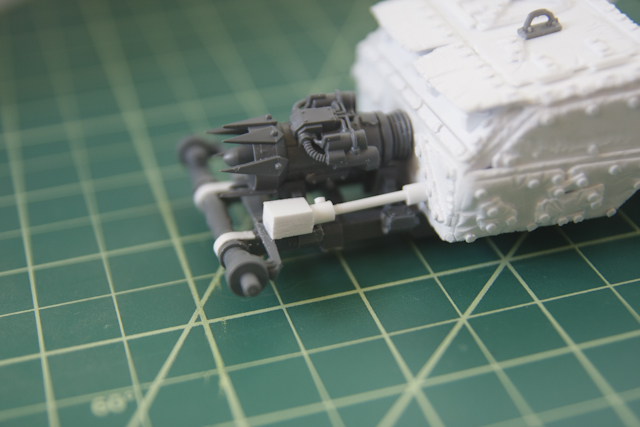
 The "engine" is pretty weedy.  It must have moar power! The truck engine is too big (I'll post about that fail later)  I dug around until I found the Killa Kan hip segments.  I put two back to back and with a bit of trimming the fit.  I then added tho piston jugs with some gubbinz.  Anyone who can guess what bitz are wins a prize (not really).

 It was only after the glue cured did I notice they weren't lined up.  Oh well, Meks never did doublecheck anyfing...

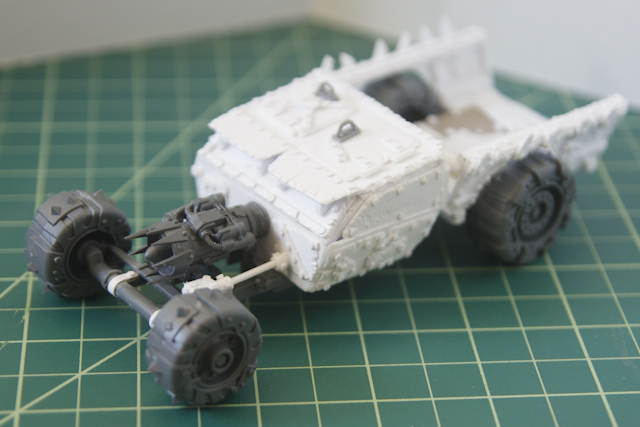
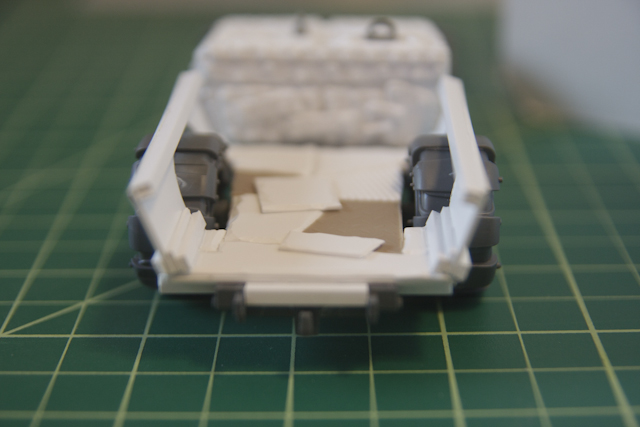
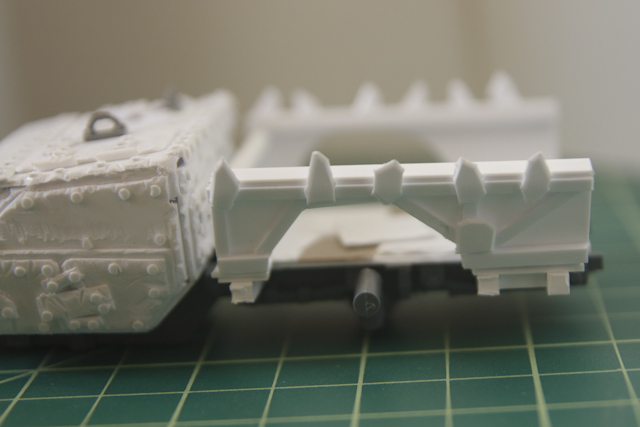
 Here's the dryfit of the first two parts.  It's a good'un!

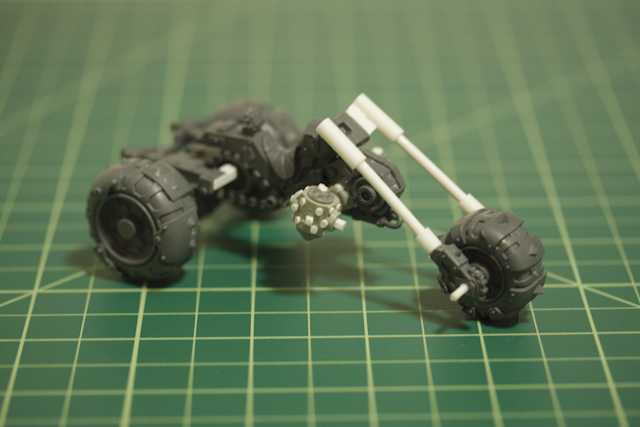
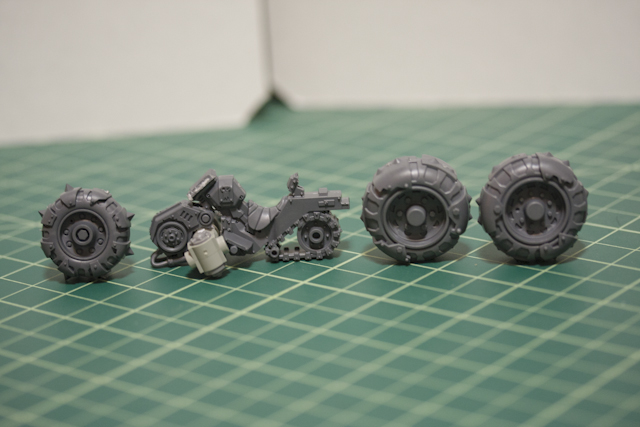
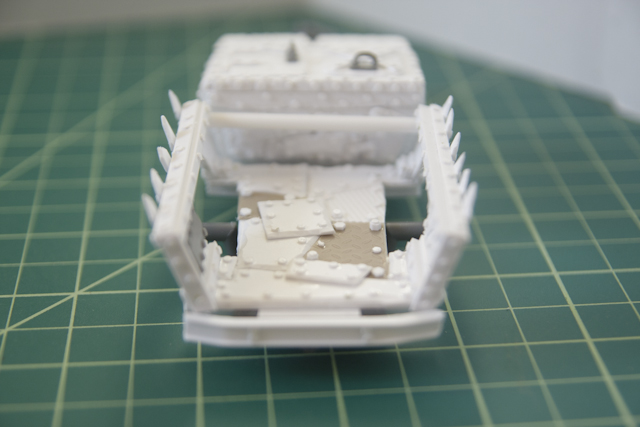
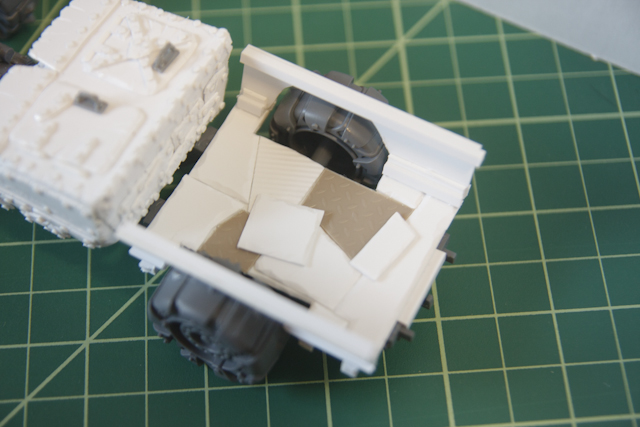
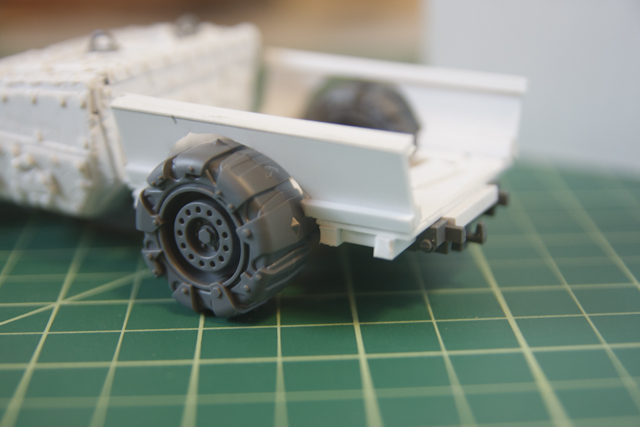
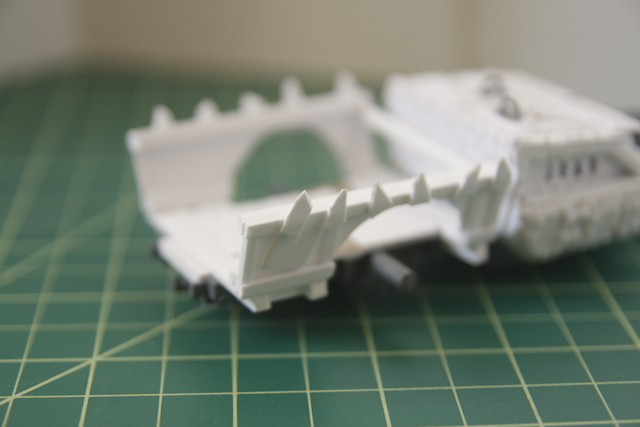
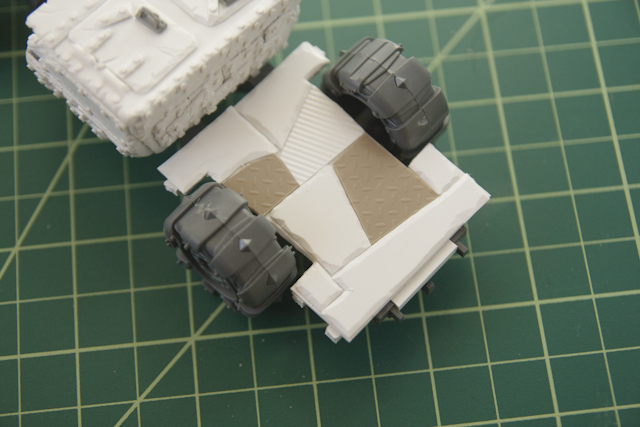
Here's my rough layout I'm going for.  Two big drive wheels in the rear make for moar fasta!  We'll see if I can pull it off.


Saturday, October 13, 2012

Trukk 1 Done!

'Ere we Go!


I do need to add a radio antenna (for da Goff toonz, deez boyz luv ta rok!). If only I can find that guitar wire around here...


Friday, October 12, 2012

Trukk 1 Final stretch

Rivet time!
 I added a few random hex shaped bolt heads to give a bit of variety:


Next time, Done!


Thursday, October 11, 2012

Even Moar! Trukk 1 a little closer...

I really agonized over the look of the bed, and finally decided to go simple with a bit of a throwback to the old GorkaMorka trukks.  I also added a few more plates to the bed to break up the lines:
I built up the base of the side panels with a couple of layers of strip stock to give more surface area for glueing.
Meks aren't really up to date on any OSHA regulations:
 Adding more stock and pointy gubbinz:
It's a bit blurry, but I added a bit of rod stock across the front to add strength to the bed walls.  More strip stock to hide seams:
The other side:
 The lack of extra detail in the front was bugging me, so I added a steering shaft and gearbox.  Since this is a gaming piece and and easily popped trukk, I won't go overboard on the detail.  I'm not trying to win a Golden Demon here...

Whew.  Check back soon for the final stretch...


Wednesday, October 10, 2012

Moar Trukk 1 Progress

Onto the bed.  Set a foundation:
Shims sandwiched between the deck and the chassis rail to keep the bed flat:
 Bottom view:
Layering on the armor plates for style, checking wheel clearance while layering:
 Added more rails to stiffen the deck:

Since this was a day late I'll followup with the bed build tomorrow.


Thursday, October 4, 2012

Trukk 1 Progress

So all that rivet work got us here:


Not too shabby.  Too many rivets you say?  Naw...  Job's a good'un.
Let's see it on the chassis:


'Ere we go!

Now to work on the bed...


Tuesday, October 2, 2012

Rivets

I like to use rivets on my Ork stuff.  I think it looks very industrial and lend a nice slapped together look to the gear.  I used to use one primary method for my rivets-cutting rod.

It's really simple.  Select plastic rod that you want for the size of your rivet.  Slice like bread:

Place on your piece.  Repeat a bazillion times.  The pro to this method is that it doesn't require any special tools.  If you need just a few then it works great.   The con is consistency. It's tough to get them all the same thickness with crisp cuts.

Screw that noise.

I needed a lot of rivets, like thousands. So I decided to invest in a hole punches:
I picked these up on Amazon for around $8 each. I got a 1/8 and 1/16 inch punch. Well worth it given I need a lot of rivets.
With the punch method you cut the rivets out of a plastic sheet:
This gives you complete control over the consistency.  Plus it's really boring.

Next time, we'll see what all this excitement got us to.