Saturday, September 29, 2012

Trukk cab continued

Work on the trukk is progressing slowly, but moving forward.  A series of shots:

Expanding on the simple cab shape by adding the armor patches. I bevel the crisp edges off an trim the clean corners so the plates don't look so sharp in the edges. It's much easier to rough the edges up before attaching them. I used a variety of techniques: Gouging with an Xatco blade, the edge of an emery board, Dremel with a grind wheel. 
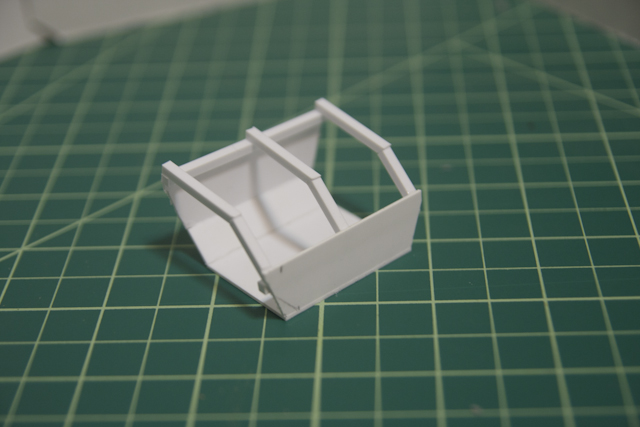
I normally wouldn't build struts like this, but  I was having a heck of a time getting the shape of the roofline right.
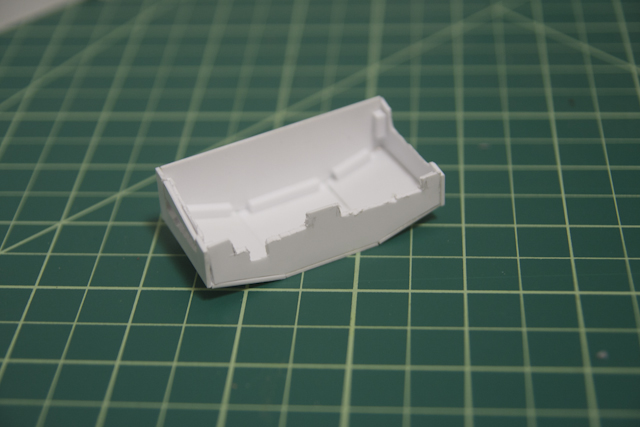
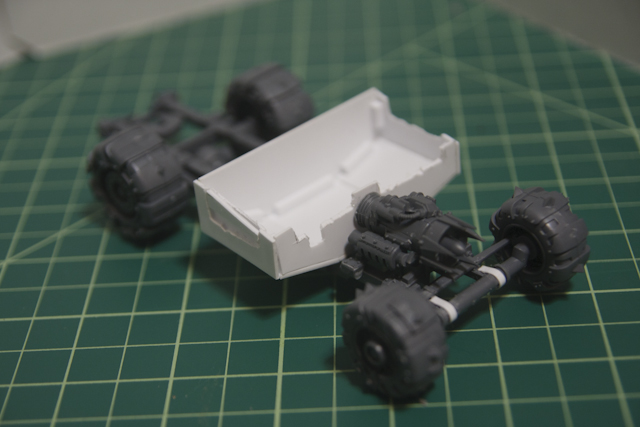
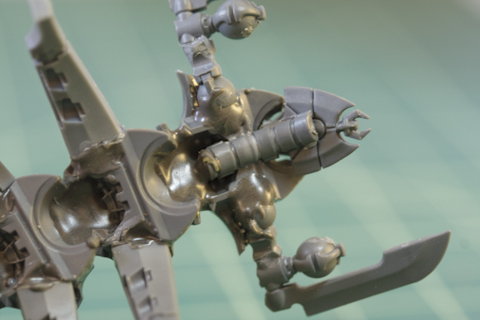
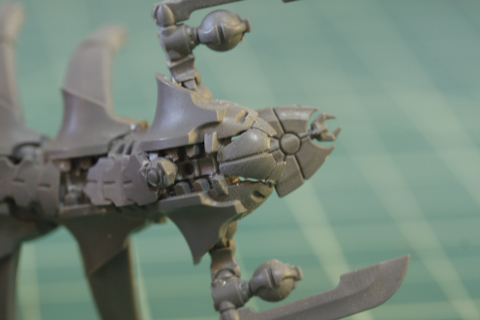
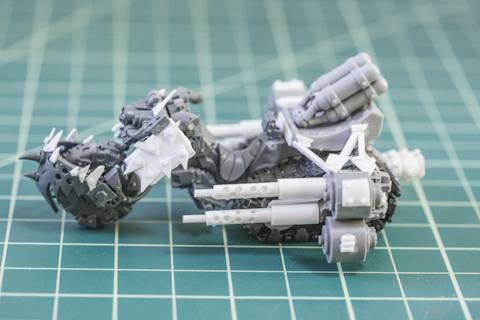
Here we are after  some more detailing:
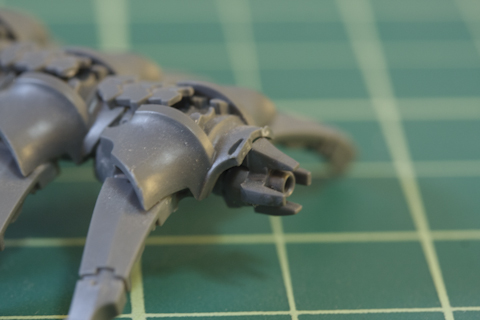
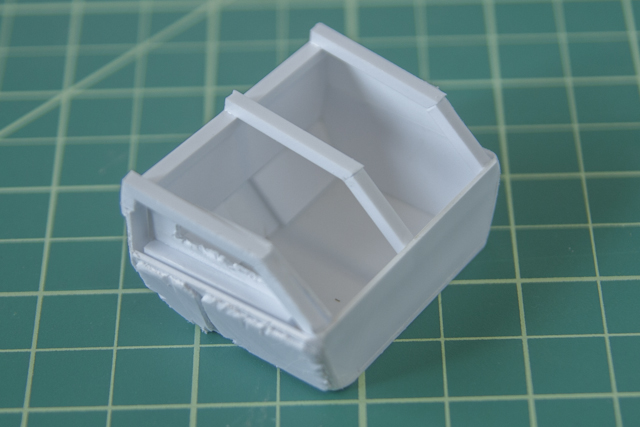
Now the roof is closed and all the patchwork is done, complete with gouging :
  

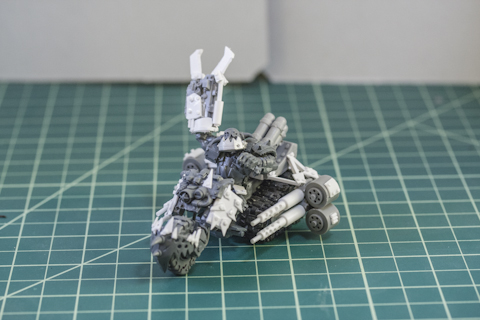
 Rivets are next.  I'll show some methods I've used and a new one, with new tools!


Tuesday, September 25, 2012

If at first...

I want a hot rodder feel to my orks, with my trukks the rat rods of the horde.  I got the chassis ready but needed to work on the cabs:

First try:
Err, not so much

Oh well, try again:

Yuk.  And not in the good way.

One more go:

Not a bad frame to go from.  How does it flow on the rod chassis?

Much better.  And the lines?


Heeyyyy!  Me thinks the Boyz be kroozin in dat!  I'll track the progress as I armor it up.


Thursday, September 20, 2012

Trukk Update

Just a quick update with engines started:
Stock trukk engine
A stormboy rocket pack, The horizontal mounts are the leaf springs cut from chassis 2.

Still in progress, more gubbins and other stuff...


Tuesday, September 18, 2012

Trukks!

I couldn't wait any longer so I began on the first of four Trukks.

Basic parts: Trukk Chassis, one rear axle, one front axle, 2 large trukk wheels, 2 small trukk wheels


Chassis 1 had the rear portion removed and the front leaf springs:

Axles attached.  The rear axle is in the  remaining leaf slot but placed upside down.  The front axle was glued on top of the frame rails, as close to the end as possible, also upside down.  Both axles are drop axles, placing them upside down will help lower the chassis clearance.

Chassis 2 had all the leaf springs clipped.  The rear axle was placed upside down just behind the middle leafs, this will keep the wheelbase length from being too long.  The front axle was placed on the front of the frame rails.  I had to shave the axle flat so it would glue flush.

Both front clips:

Both chassis side by side.  One trukk will be a bit longer than the other.

More to come...


Friday, September 14, 2012

Canoptek Destroyer Lord

I kitbashed this guy to be my Destroyer Lord, But he turned out a bit small.  I think he's still cool, just not sure what I'd use him for.
He does cut a nice line though, I totally ripped off was inspired by the Tomb Stalker.
Next to a dave, for scale

I used Triarch Praetorian torso backs for the body segments (sorry no individual pic),
Annihilation Barge Command console bits for the legs,
Praetorian Loin Scales to cover the gaps between segments,
Warscythe tips for Scytheclaws
 and a Rod of Convenant tip for the head.
I started by trimming and gluing the torso segments end to end, allowing a natural curve to raised the body up.  Then I trimmed the "legs" down a little at the wide end, otherwise they were too long. These I glued up under the shoulder guards:
Once it was done, I used JB Weld to secure the whole ting together.  It needed the extra strength.

The head I trimmed off the Covenant bit and secured it to the front segment with a bit of techie looking cut off.  I trimmed the Warscythes down and put them in the shoulder holes.
JB Weld to the rescue!

From the top:
I used a bit of neck armor from another torso to cover the gap.

Finally I added an end off a gauss rifle to the butt.   


 Nice pooper!

Too bad I don't have any WIP shots, but hopefully this helps.


Thursday, September 13, 2012

Moar Bikerz!

So with my Ork force I did get some work done on Biker Nobz, including a Painboy:

Tuesday, September 11, 2012

Supplier Spotlight-Puppetswar

Puppetswar, how do I love thee.  They have neato stuff that isn't too expensive.  I've ordered from them and been pleased everytime.  They do ship from Poland so it can take a while, but the shipping is cheap (cheaper than a lot of US based companies).  Check 'em out.

http://puppetswar.eu/

Monday, September 10, 2012

Bikerz!

I'm a long time Space Wolf player.  I got the metal Grey Hunters box when it came out.  I was hooked.  I've had the army 20 years.  They're my old standby.  But I've always wanted an Ork army.  No rules, no wrong way to do anything.  So when I started modeling again, I decided I wanted to build an Nob Biker force to start out.  Not too many models, just to get in swing of things.

I had to start with a Warboss.  I bashed this guy together:
It's a stock Warbike, with old Imperial tank wheels and track links overlaid on the bike rear wheel. 


The big shootas are built off old Ork bolters, with more tank wheels as the ammo cans.  I pair of nitro tanks on the back finish it off.

The Engine is a chopped up heavy flamer, stacked on another pair of bolters with lots of extra plasticard.

The boss's power klaw is an old Chaos Marine Heavy Bolter and another Orky Bolter, with more plasticard:


More to come...


I like 40k.  I really like the hobby aspect of 40k.  I took a break from gaming when my kids were born, now they're old enough to give me time to build and play again.  I came in late 5th Edition, and immediately began building an Ork Warbike list. Then the new Necron codex came out and I built a fully converted force. I'll share what I have as time goes on, what I'm working on and resources and inspiration I come across from the web.  I'll share those links, and make recommendations purely based on my completely biased opinion.