
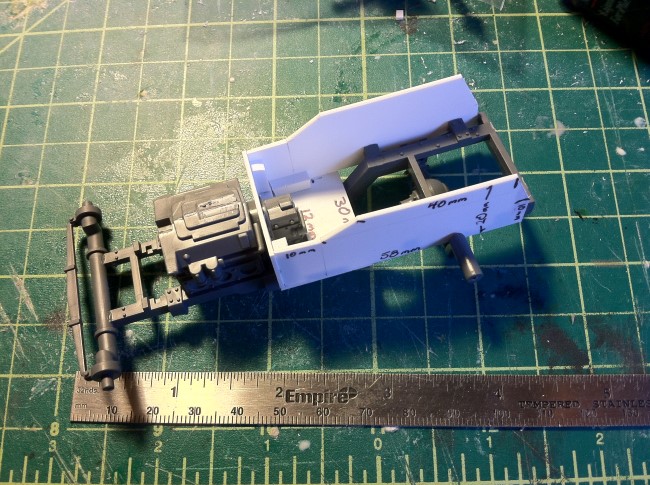
I started with a trukk chassis. I clipped the last section off to shorten the overall length. I want my buggies low to ground, right down in the weeds so I clipped the front leaf springs off an moved the front axle to the front of the frame. I flipped over the rear axle to drop the back end down. I also installed the engine at this point. I should really scratch build the block, but my time is now so limited it opted for the easy way out. All I did this time was chop the scoop off the top. I don't want the buggies to look exactly the same...


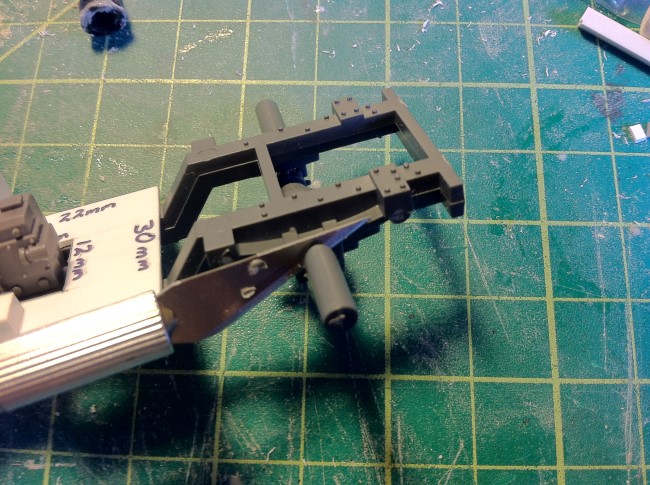
Here shows the gusset blocks I added to keep everything square and lend more surfaces to glue against.

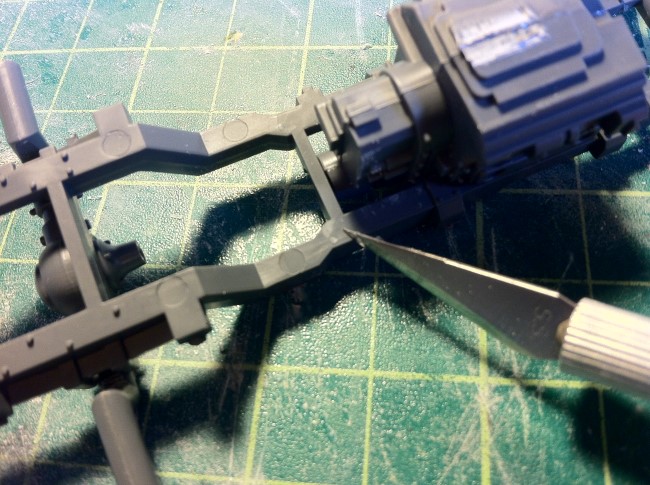
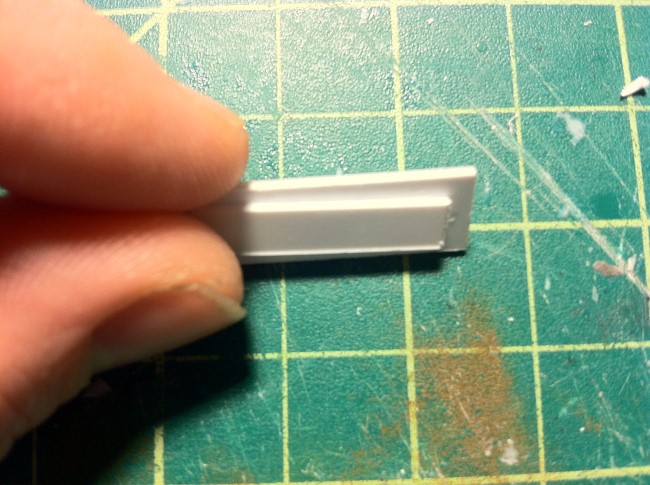
Before I add the side panels, I have to trim these nubs off the rear springs. My panels run the entire length of the frame from the firewall back. Without trimming these the don't seat correctly.
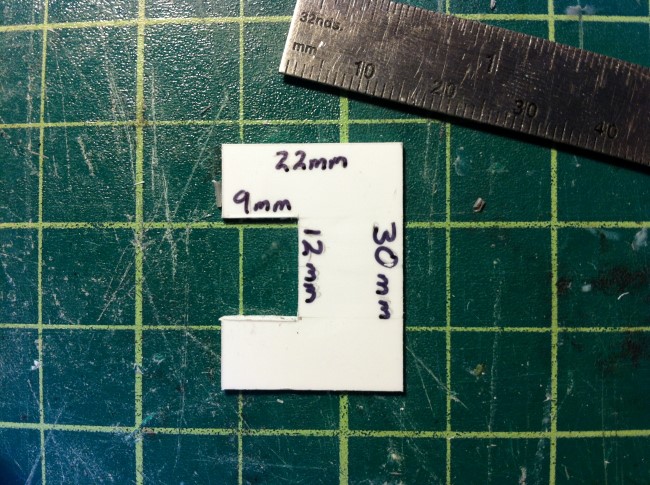
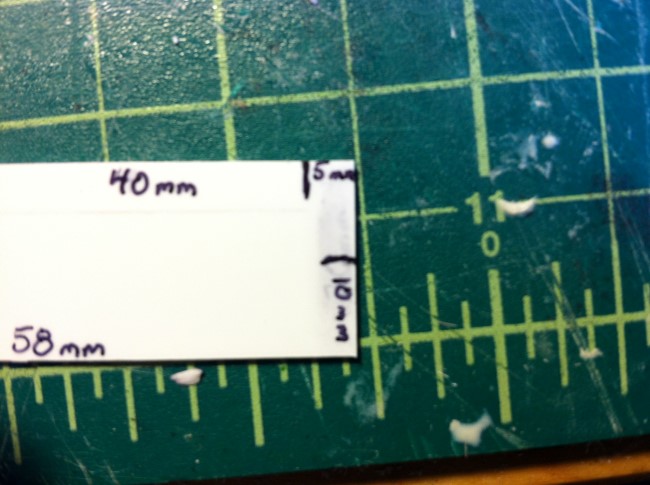
I set that aside and started on the side panels. I measured my length down the side, from the firewall to the back of the frame. The height was based on the firewall again, and a round number that looked right. The windshield angle and roof length are arbitrary, based on an asthetic preference. I wanted my windshield at a slant, but there is no reason that couldn't change:
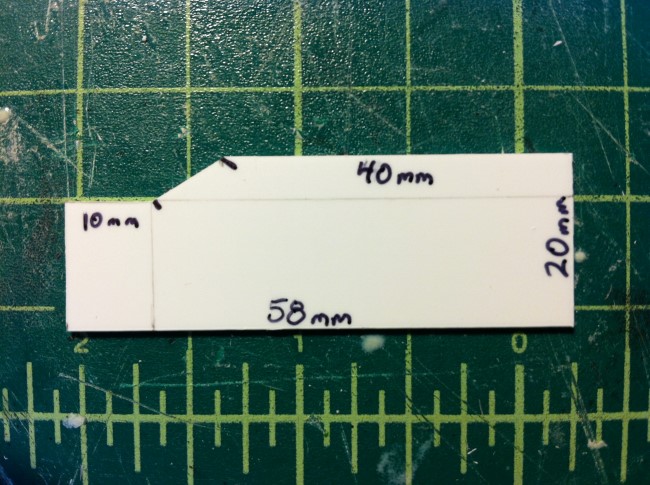
I didn't want a square back, so I introduced and bit of an angle:


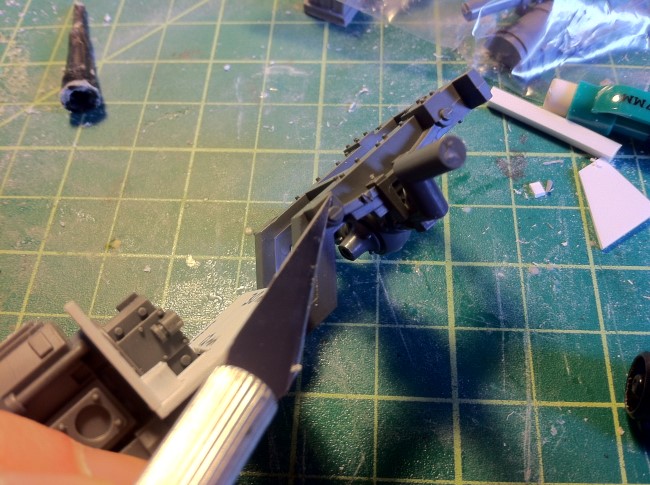
The windshield is really more of a plate and slit affair. I cut a panel based on the body shell measurements, then cut out rough vision slits and distressed the edges:

Sweeeeet. Loving how this one's coming together!
ReplyDelete