Yup, it can happen. I haven't really painted in years. Back in the day I was a solid painter, held my own so to speak. When I was able to start hobbying again I was rather intimidated by the level of painting we see today. After procrastinating about it I decided to start slapping some color on stuff. This time around, based on discussions with friends I decided it was time to up my game with an airbrush. I dove into videos and other resources and started to practice and experiment. I figure I'd share some of the things I've found out so far.
I use Photoshop and it occurred to me that I may be able to do all
the tonality prior to applying the red. Red and yellow tend to be
somewhat translucent, so I figured I'd give it a shot.
Update: If you poke around on Youtube you'll find this technique in more detail. I guess I'm behind the curve.
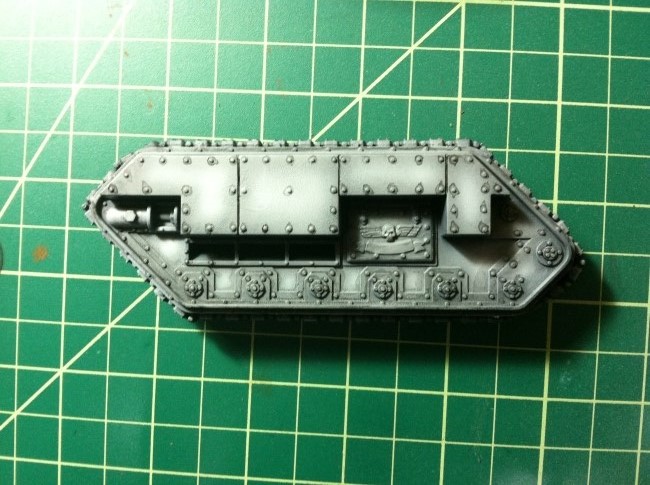
I started with the overall shading and highlighting. I worked up
from black, light grey for the midtones, pure white for the highlights.
At that point I figures I may as well run a black wash for some definition.
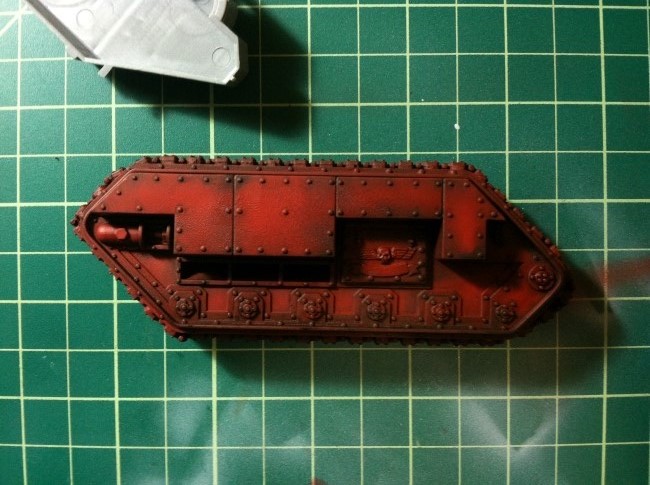
Then red on top. This red is an even coat across the entire piece.
The piece is lacking contrast but the pretone idea worked. From here I'll seal it up and add some weathering. I need to balance detail with time, so for now I'll keep it simple.
Right. I picked up some Vallejo Oiled Earth wash to crud up the piece.
I sprayed it on a relatively even coat. I then ran straight thinner
through the brush and "chased" the wash around to force it off the
centers and high spots. I let gravity help me here.
Hey now! Uses a lot of thinner though. I'm going to try a watercolor wash with the same technique and see how that does.


Looking good. This is a nice process to follow as I just started using an airbrush! Thanks for the photos!
ReplyDelete